
The Darkroom Print
’It’s all about the print’ has been my mantra since the very beginning. My photography journey began with film cameras so there wasn’t any choice other than to print my images. Printing in a darkroom is a magical experience but can also be very frustrating! There are so many variables, so many things that can go wrong but, when you get it right there’s nothing quite like it!
Let’s make a print in the darkroom shall we? To quote Ansel Adams “The negative is the score, and the print is the performance”.
Holding up a strip of wet negatives just pulled from a developing reel, is so exciting, as you have your first glimpse of your successes or indeed failures! Once dried, your next step is to produce a set of contact prints so you can have your first proper look at your work. Having studied the contact sheet with a loupe and selected the first image to enlarge, the process of printing can begin.
A good print always starts with a good negative, correctly exposed and developed.
Clean the negative and carefully place it in the enlarger, lights out, red safelight on and focus with a grain focus finder. Open your box of fibre base paper and cut a sheet into several strips. Make your first test strip using a sheet of black card to create different exposures.
Expose, develop, stop, fix, wash, dry and evaluate.
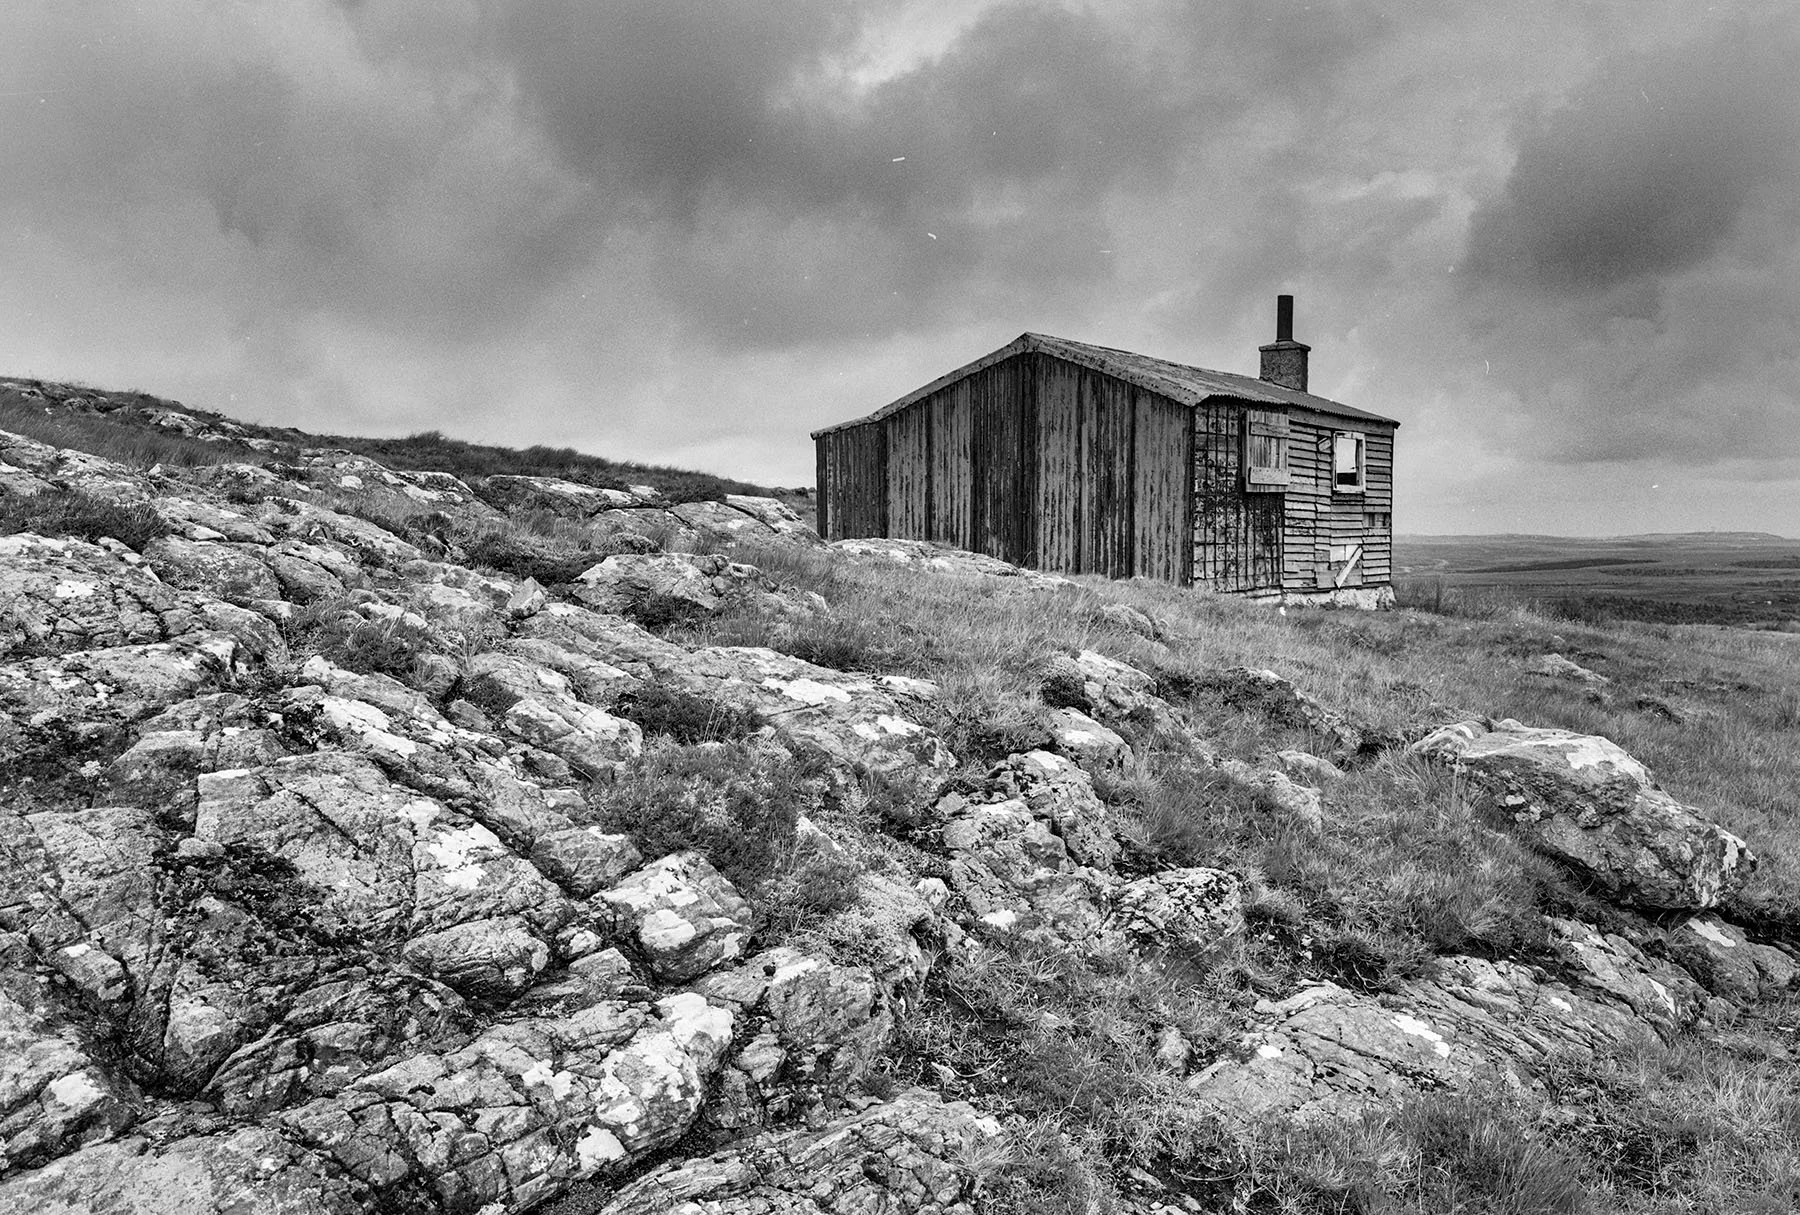
The first test strip with varied exposures. Somewhere in the middle looks about right.
Your first test strip will have different exposures so once dry, you need to determine the correct exposure in normal room lighting. Make another test strip with the correct exposure.
Expose, develop, stop, fix, wash, dry and evaluate.
The second test strip has a good overall exposure but lacks contrast.
Correct exposure determined, your next step is to make a decision about the grade of paper. Does your image need more or less contrast? This image needs more contrast. Your third test will probably be a full size print.
Expose, develop, stop, fix, wash, dry and evaluate.
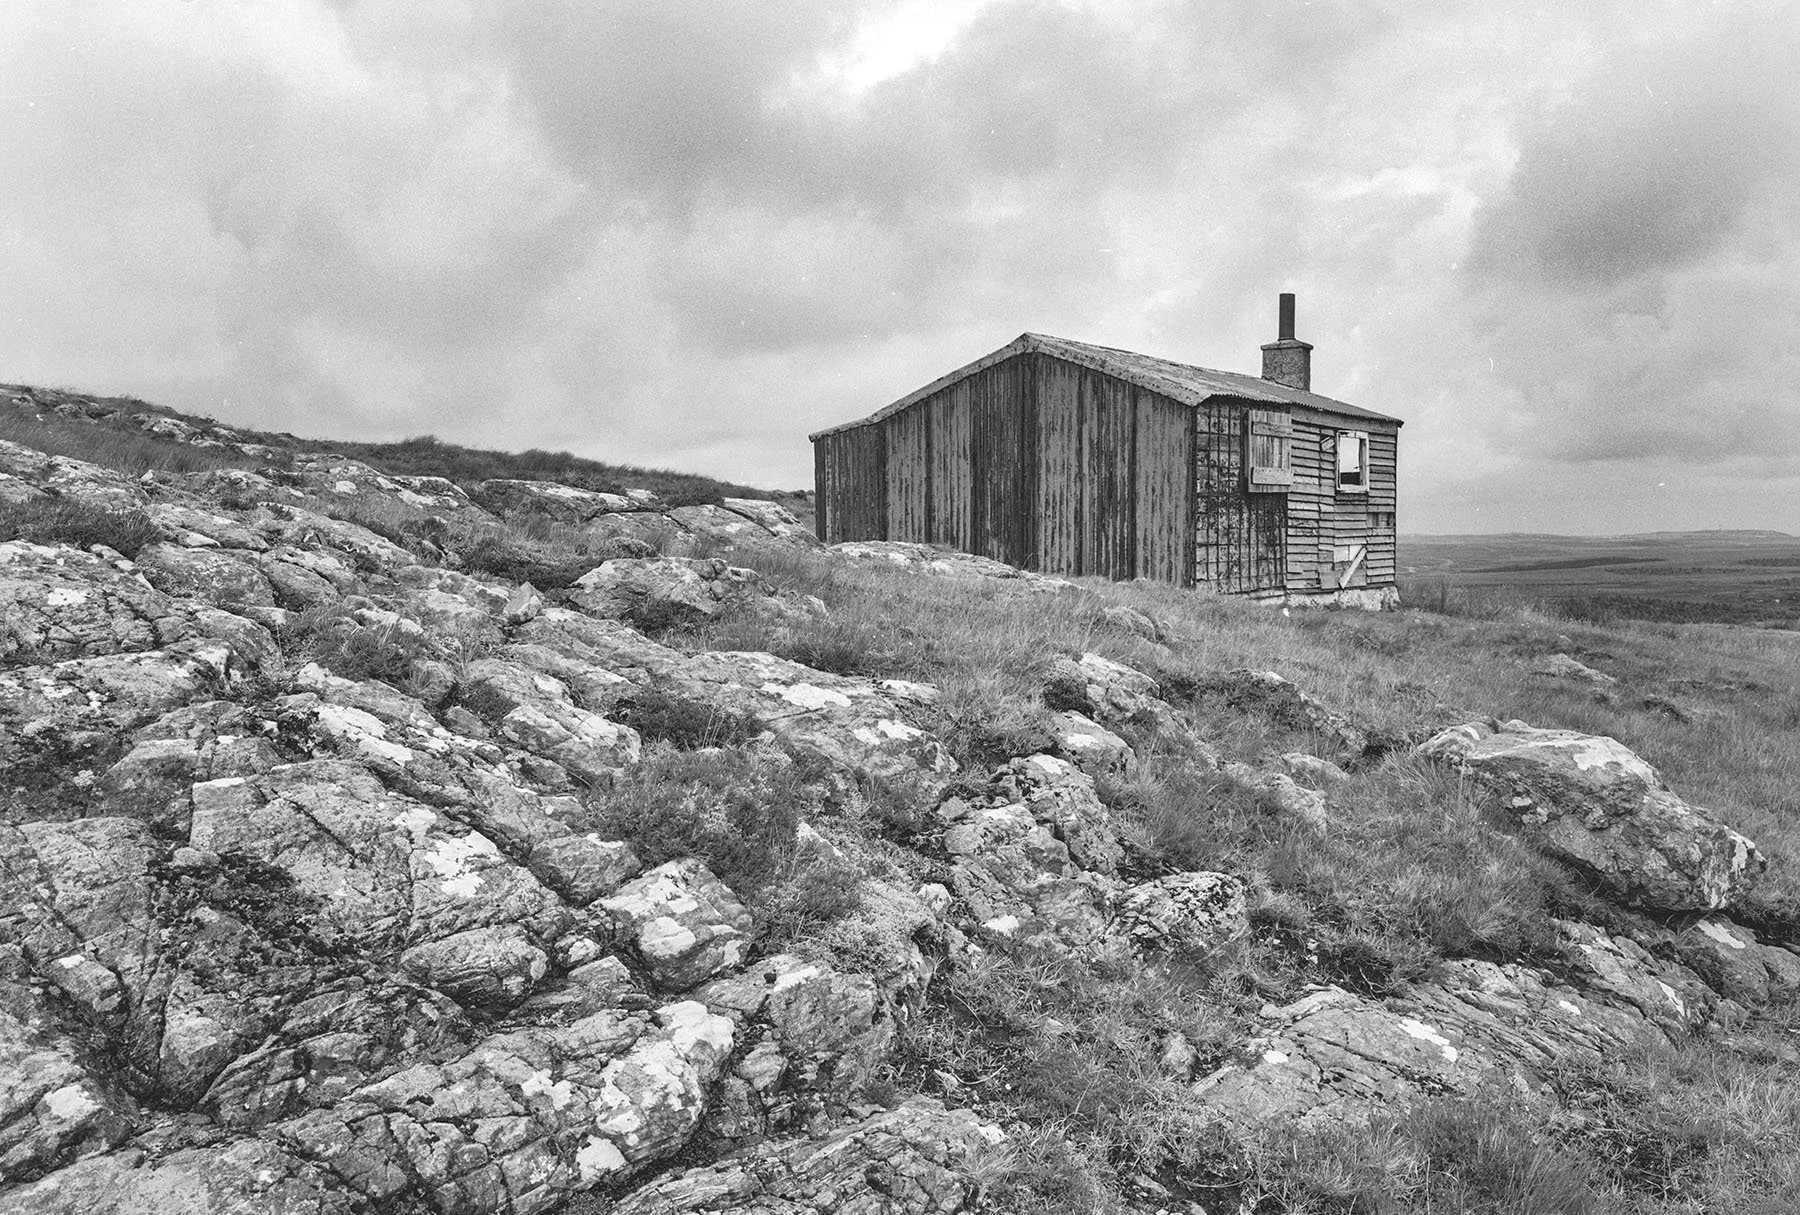
Full size test print. The exposure looks OK but the sky could do with a bit more drama and some more contrast overall.
Seeing your first full size image is always thrilling. So now you have a good exposure and you’ve chosen the correct grade of paper but, the print doesn’t look quite right, so what to do? This is where you create a print map and mark out the areas that require dodging and burning. More detail in the sky perhaps? The shadows look OK but the highlights are a bit muddy! Time to make your fourth print.
Expose, develop, stop, fix, wash, dry and evaluate.
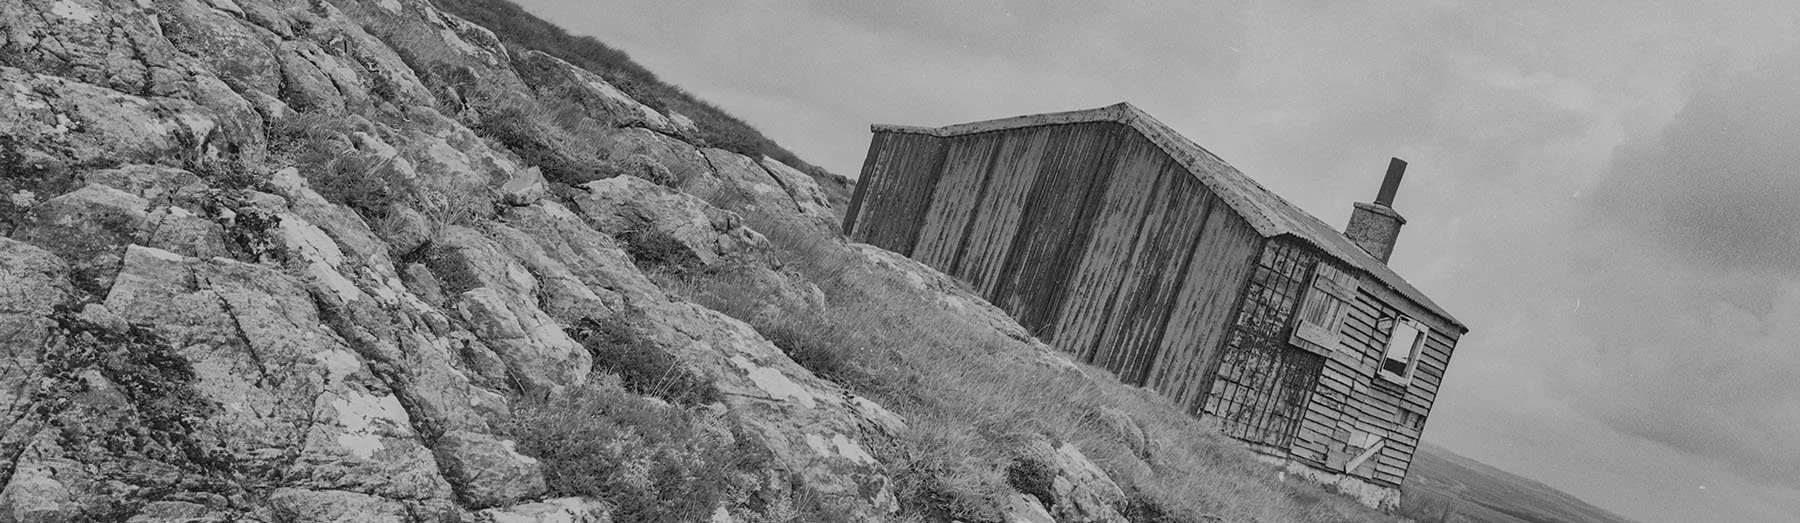
This is now looking like a finished print. Just a little more work and perhaps a warm tone will set the mood.
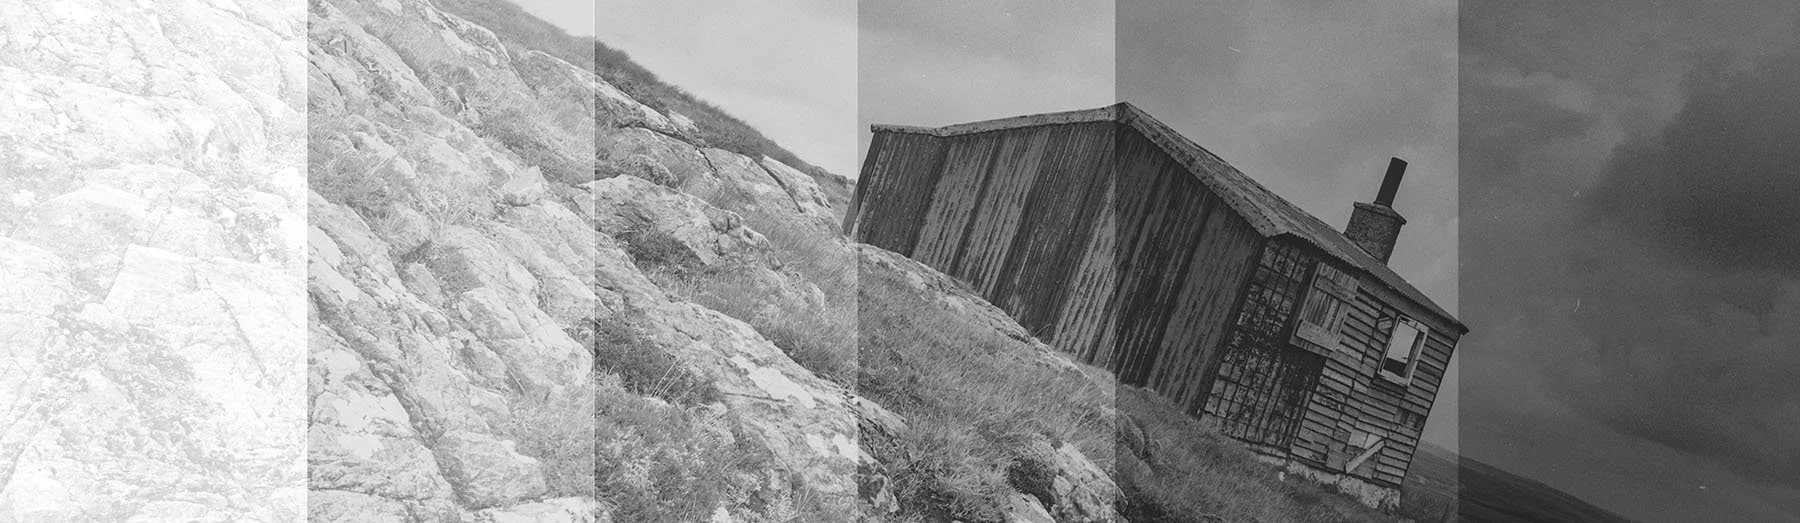
Now we’re getting somewhere, finally a print that looks half decent! But still room for refinement? Yes! The sky still lacks some detail and drama. The overall exposure is good but all four corners could do with a soft vignette to darken them. This is also a good time to decide if you are going to tone the print, maybe a weak selenium bath to help make the print more archival or go for a full split tone with selenium and sepia. Toning will affect the contrast and depth of a print so you need to tone this test print before you can make your final evaluation.
Mix chemical toners, tone print, wash, dry and evaluate.
Evaluation complete and print map complete so it’s time to make your exhibition quality print. Lights out, red safelight on and check focus again with a grain focus finder. Exposure, dodge and burn, develop, stop, fix, wash, tone, wash again and finally stand back and admire your work. If the darkroom gods are on your side then there you have it, a beautifully crafted print by your very own hand, albeit still wet!
As this is your finished print, your washing will have been carried out correctly, in other words a thirty minute wash and then thirty minutes again after toning. That’s a long time to wait and then decide your dodging and burning is not quite right! Test strips and test prints can be washed for less time and usually just dried with a squeegee or paper towel. But for our finished fibre base print it is best air dried at room temperature, ideally left overnight. Fibre base papers have a tendency to ‘dry down’ meaning they can appear darker than when wet, so we just have to wait and see.
If the dreaded dry down hasn’t made our print look too dark, then do we now finally have a finished print? Yes, well maybe. As we’re working with fibre base paper then chances are it’s a bit curly. Nothing a few heavy books won’t sort out though!
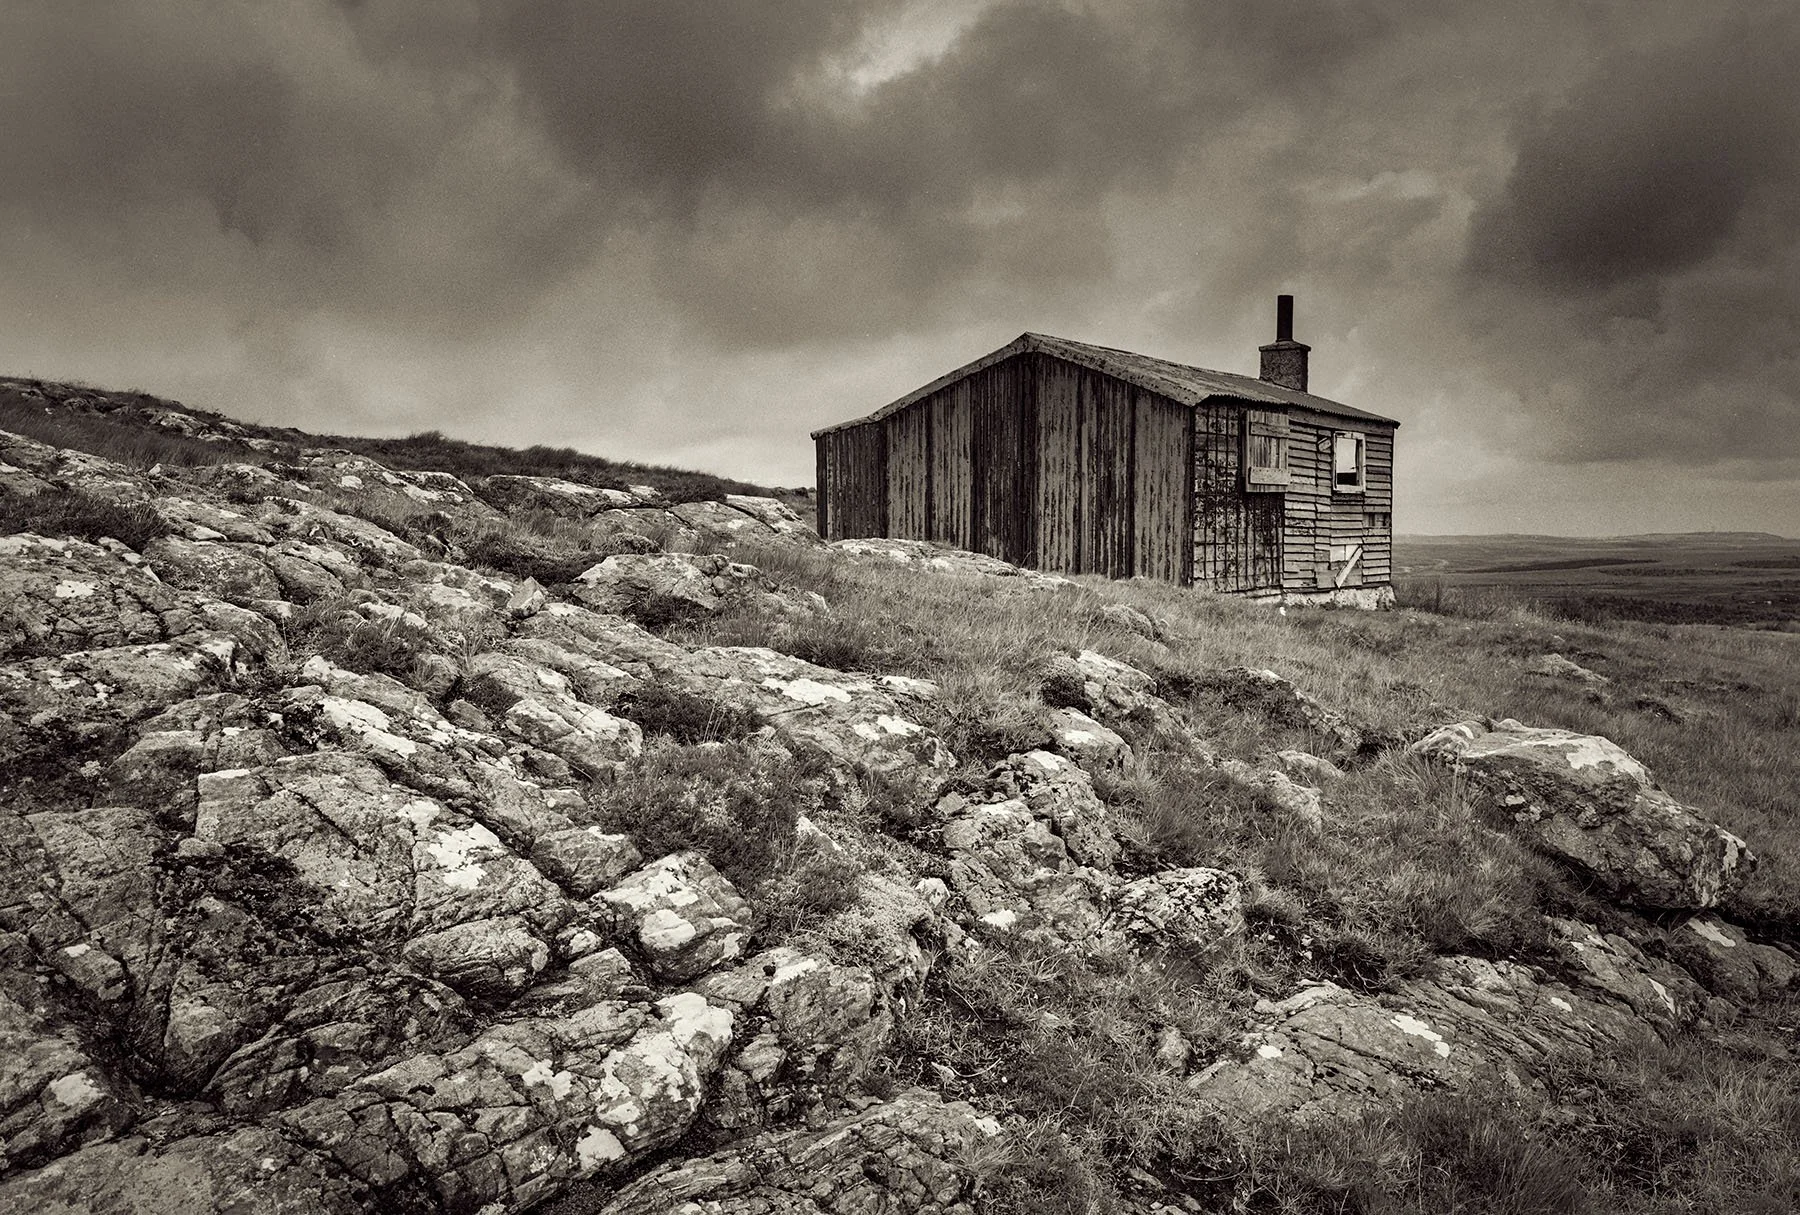
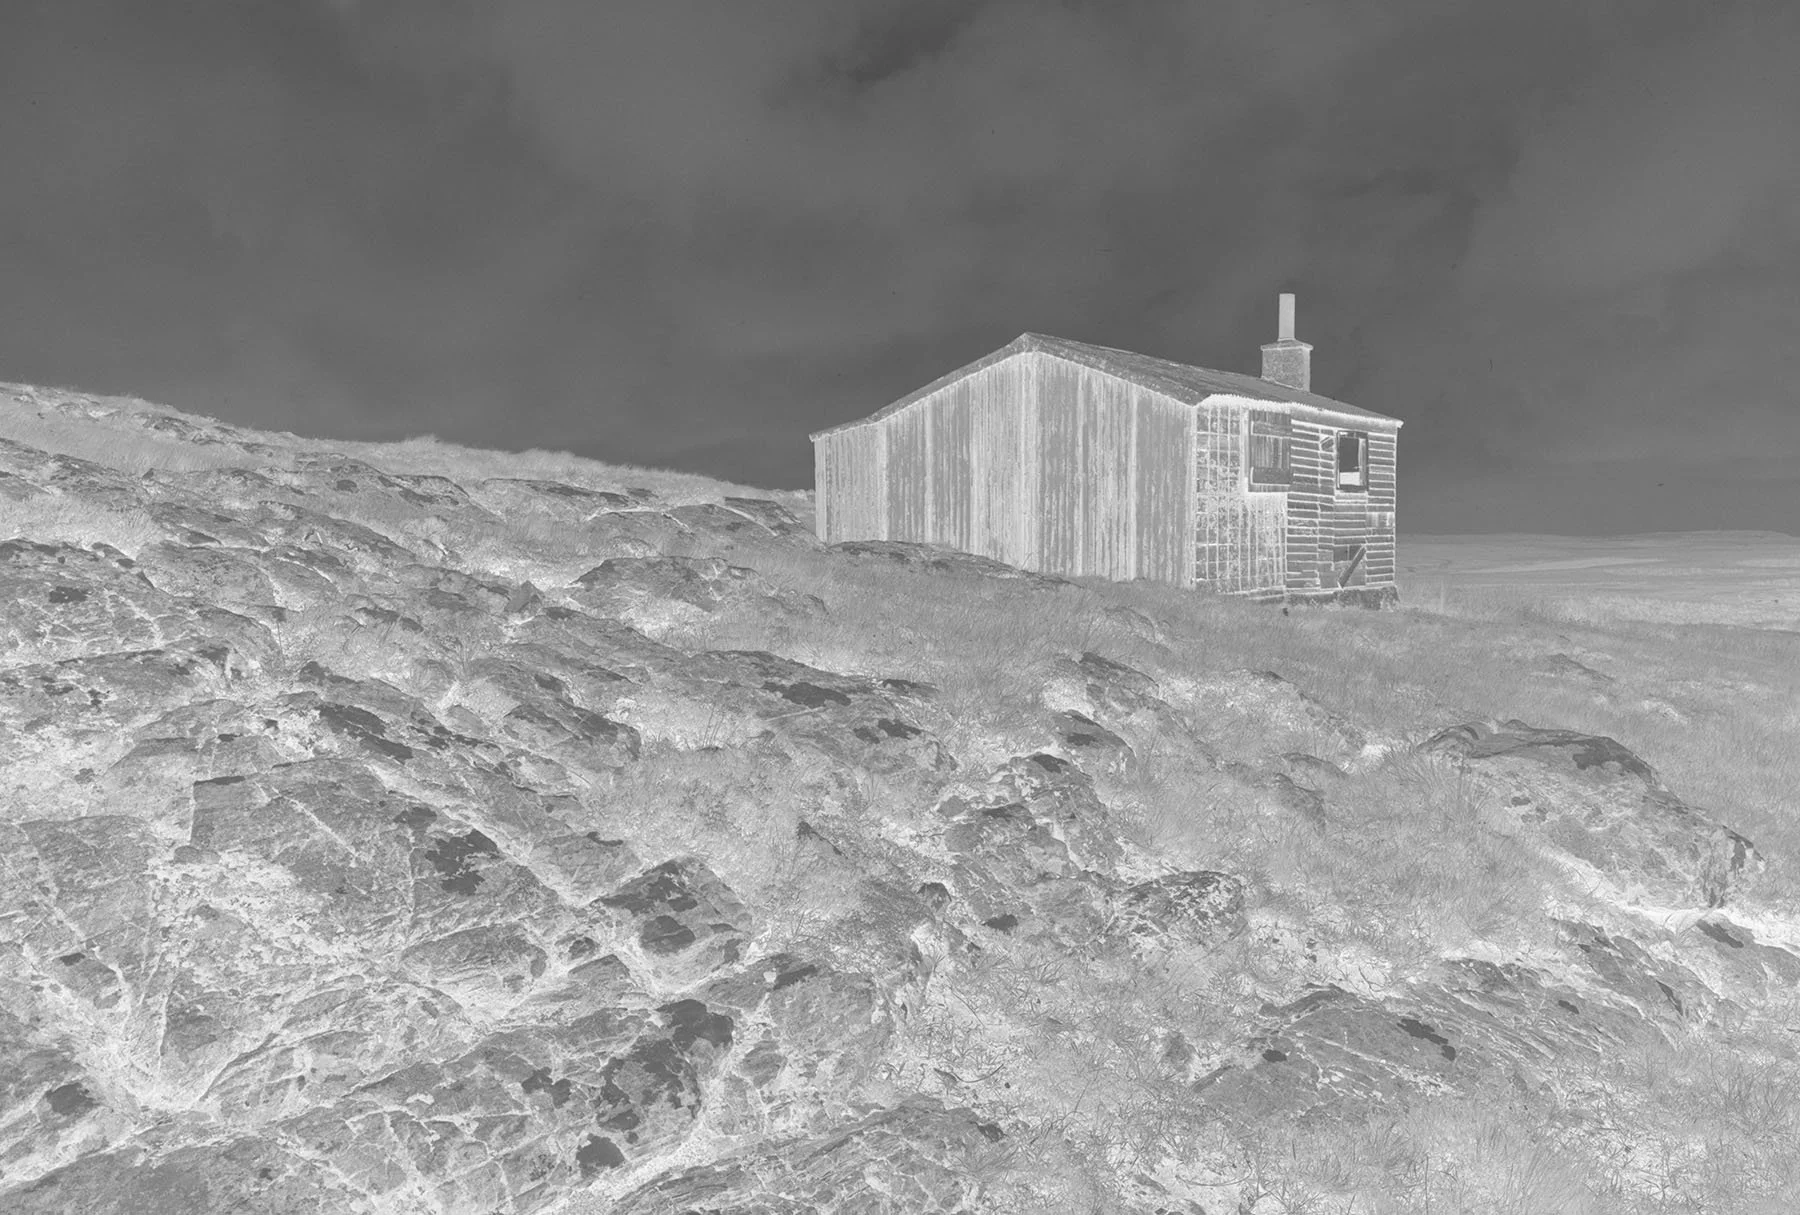
The finished print. The selenium and sepia tone add clarity and mood to the image, just how I like it! Abandoned Shieling, Outer Hebrides.
It must be finished by now surely? It’s nice and flat with beautiful tones that make your image jump off the paper, so lets get it framed and hung on the wall… wait what’s that… some dust spots right in the middle of the sky!! Time to get out the spotting dyes and a 000 size brush and a magnifying glass!
Finished print? Yes! So Ansel Adams was right, what a performance! Hang on, I need two prints of this image, oh well, repeat the whole process again, lights out, red safelight on….!
Cheers,
David.
PS
See my comments below for some explanations of techniques used in the darkroom.